== detail.jsp ==
1. board폴더의 detail.jsp에 댓글부분 추가 작성
- 위치 : body태그안, if문 뒤
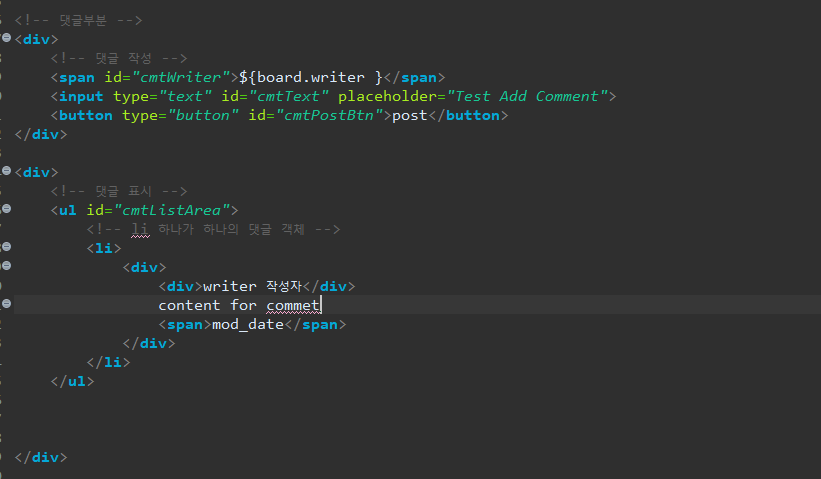
- 추가
<!-- 댓글부분 -->
<div>
	<!-- 댓글 작성 -->
	<span id="cmtWriter">${board.writer }</span>
	<input type="text" id="cmtText" placeholder="Test Add Comment">
	<button type="button" id="cmtPostBtn">post</button>
</div>

<div>
	<!-- 댓글 표시 -->
	<ul id="cmtListArea">
		<!-- li 하나가 하나의 댓글 객체 -->
		<li>
			<div>
				<div>writer 작성자</div>
				content for commet
				<span>mod_date</span>
			</div>
		</li>
	</ul>


</div>
- 전체
<%@ page language="java" contentType="text/html; charset=UTF-8"
    pageEncoding="UTF-8"%>
    <%@ taglib uri="http://java.sun.com/jsp/jstl/core" prefix="c"%>
<!DOCTYPE html>
<html>
<head>
<meta charset="UTF-8">
<title>Board Detail Page</title>
</head>
<body>
<h1>Board Detail Page</h1>

<table border="1">
	<tr>
		<th>bno</th>
		<td>${board.bno }</td>
	</tr>
	<tr>
		<th>title</th>
		<td>${board.title }</td>
	</tr>
	<tr>
		<th>writer</th>
		<td>${board.writer }</td>
	</tr>
	<tr>
		<th>read_Count</th>
		<td>${board.read_count }</td>
	</tr>
	<tr>
		<th>rag_date</th>
		<td>${board.reg_date }</td>
	</tr>
	<tr>
		<th>content</th>
		<td>${board.content }</td>
	</tr>
</table>
<a href="/board/list"><button>목록</button></a>
<!-- 로그인 id와 게시글의 작성자가 같지않으면 수정, 삭제버튼 안보이게 -->
<a href="/board/modify?bno=${board.bno }"><button>수정</button></a>
<a href="/board/delete?bno=${board.bno }"><button>삭제</button></a>
<c:if test="${ses != null && ses.id == board.writer }">
</c:if>

<!-- 댓글부분 -->
<div>
	<!-- 댓글 작성 -->
	<span id="cmtWriter">${ses.id }</span>
	<input type="text" id="cmtText" placeholder="Test Add Comment">
	<button type="button" id="cmtPostBtn">post</button>
</div>

<div>
	<!-- 댓글 표시 -->
	<ul id="cmtListArea">
		<!-- li 하나가 하나의 댓글 객체 -->
		<li>
			<div>
				<div>writer 작성자</div>
				content for commet
				<span>mod_date</span>
			</div>
		</li>
	</ul>
</div>

</body>
</html>
== boardComment.js ==
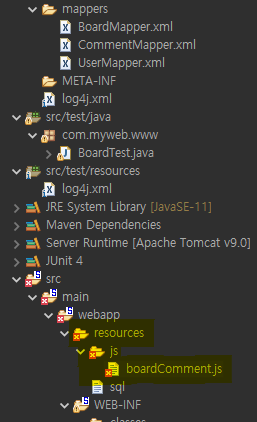
2. resource폴더안에 js폴더 생성 - boardComment.js ( js파일 ) 생성
- VScode에 작성해서 옮기는 기능 해보기! -
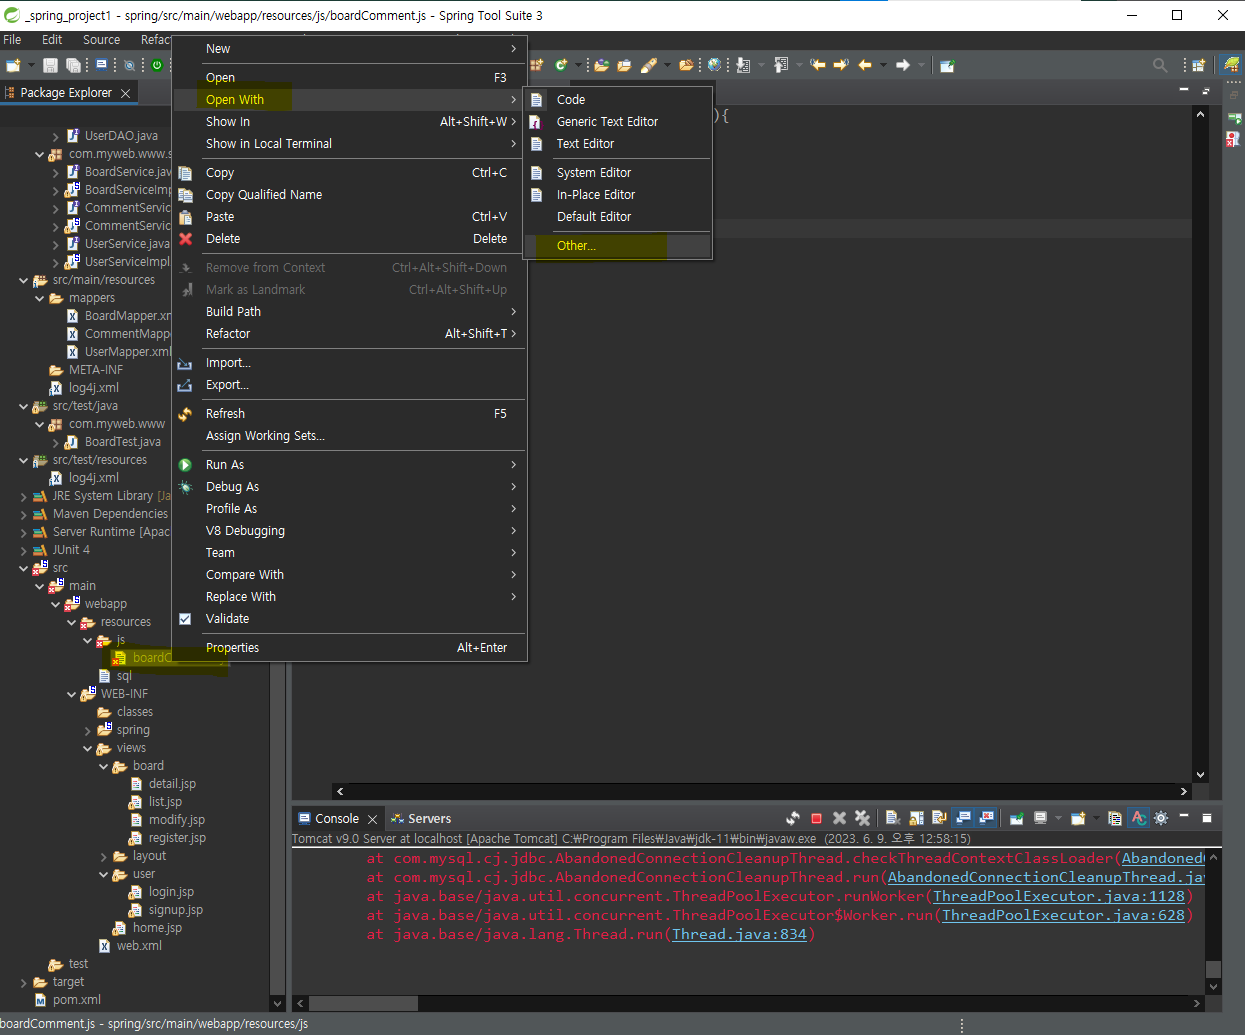
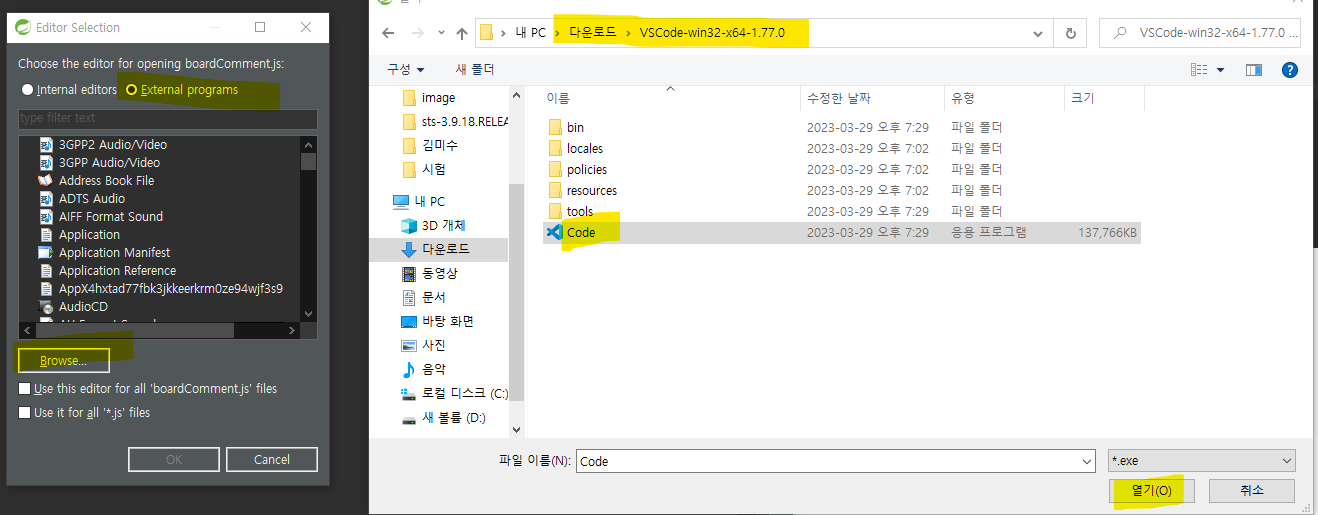

화면에 VScode가 실행됨!


== detail.jsp ==
3. detail.jsp에 boardCommet.js 연결구문 작성
- 위치 : <body>태그 안, 댓글 작성/출력 부분 하단

- 추가 부분
<script type="text/javascript">
	const bnoVal = '<c:out value="${board.bno}" />';
	console.log(bnoVal);
</script>
<script type="text/javascript" src="/resources/js/boardComment.js"></script>
- 전체 detail.jsp
<%@ page language="java" contentType="text/html; charset=UTF-8"
    pageEncoding="UTF-8"%>
    <%@ taglib uri="http://java.sun.com/jsp/jstl/core" prefix="c"%>
<!DOCTYPE html>
<html>
<head>
<meta charset="UTF-8">
<title>Board Detail Page</title>
</head>
<body>
<h1>Board Detail Page</h1>

<table border="1">
	<tr>
		<th>bno</th>
		<td>${board.bno }</td>
	</tr>
	<tr>
		<th>title</th>
		<td>${board.title }</td>
	</tr>
	<tr>
		<th>writer</th>
		<td>${board.writer }</td>
	</tr>
	<tr>
		<th>read_Count</th>
		<td>${board.read_count }</td>
	</tr>
	<tr>
		<th>rag_date</th>
		<td>${board.reg_date }</td>
	</tr>
	<tr>
		<th>content</th>
		<td>${board.content }</td>
	</tr>
</table>
<a href="/board/list"><button>목록</button></a>
<!-- 로그인 id와 게시글의 작성자가 같지않으면 수정, 삭제버튼 안보이게 -->
<a href="/board/modify?bno=${board.bno }"><button>수정</button></a>
<a href="/board/delete?bno=${board.bno }"><button>삭제</button></a>
<c:if test="${ses != null && ses.id == board.writer }">
</c:if>

<!-- 댓글부분 -->
<div>
	<!-- 댓글 작성 -->
	<span id="cmtWriter">${ses.id }</span>
	<input type="text" id="cmtText" placeholder="Test Add Comment">
	<button type="button" id="cmtPostBtn">post</button>
</div>

<div>
	<!-- 댓글 표시 -->
	<ul id="cmtListArea">
		<!-- li 하나가 하나의 댓글 객체 -->
		<li>
			<div>
				<div>writer 작성자</div>
				content for commet
				<span>mod_date</span>
			</div>
		</li>
	</ul>


</div>

<script type="text/javascript">
	const bnoVal = '<c:out value="${board.bno}" />';
	console.log(bnoVal);
</script>
<script type="text/javascript" src="/resources/js/boardComment.js"></script>


</body>
</html>
== boardComment.js ==
4. boardComment.js 에 댓글 작성한 값을 가져오는 구문 작성
( VScode에 작성 후 - boardComment.js 화면 클릭! )
https://jungeun980906.tistory.com/340 -> 구문 설명은 여기에 자세하게 설명되어있음


async function postCommentToServer(cmtData){
try{
const url = "/comment/post";
const config = {
method: 'post',
headers:{
'content-Type': 'application/json; charset=utf-8'
},
body:JSON.stringify(cmtData)
};
const resp = await fetch(url, config);
const result = await resp.text();
return result;
}catch(error){
console.log(error);
}
}
document.getElementById('cmtPostBtn').addEventListener('click',()=>{
const cmtText = document.getElementById('cmtText').value;
console.log(cmtText);
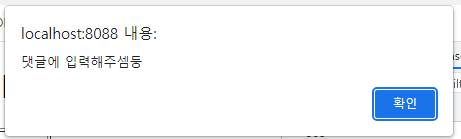
if(cmtText == null || cmtText == ""){ //값이 없거나 비어있는 상태인 경우
alert("댓글에 입력해주셈둥");
document.getElementById('cmtText').focus(); //cmtText작성 창에 포커스 되도록 설정
return false;
}else{ //값이 있는 경우
let cmtData = {
bno : bnoVal,
writer : document.getElementById('cmtWriter').innerText,
content : cmtText
};
console.log(cmtData);
//cmtData를 가지고 서버에 연결
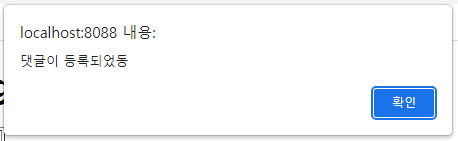
postCommentToServer(cmtData).then(result=>{ //결과는 isOK로 성공이면 1이상 리턴
if(result > 0){
alert('댓글이 등록되었동');
}
});
}
})
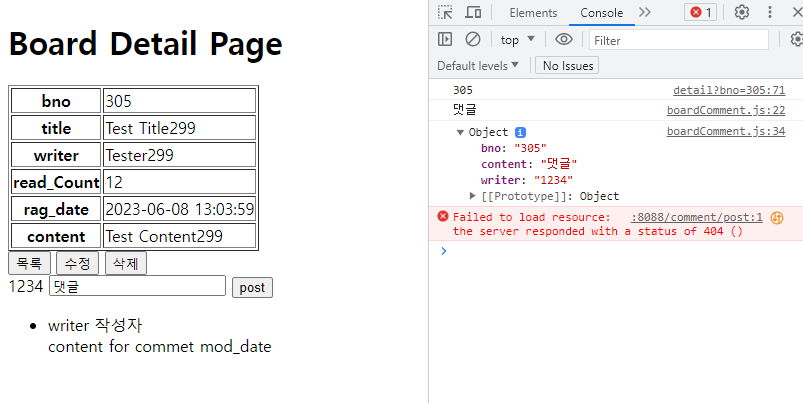
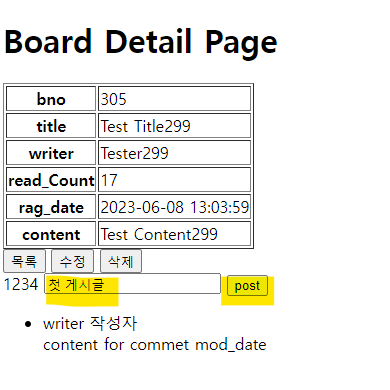
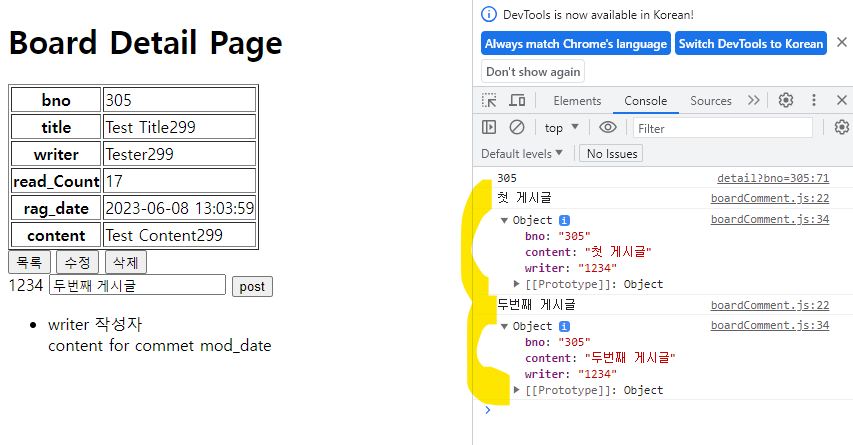
- 여기까지 실행화면 -
- detail.jsp에 댓글 부분 출력
- 댓글작성 후 post버튼 클릭시, object에 담아서 값이 모두 넘어오는 것을 확인가능!
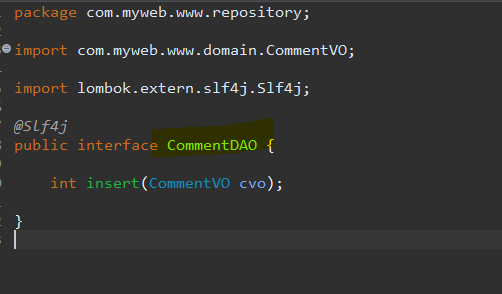
== CommentController ==
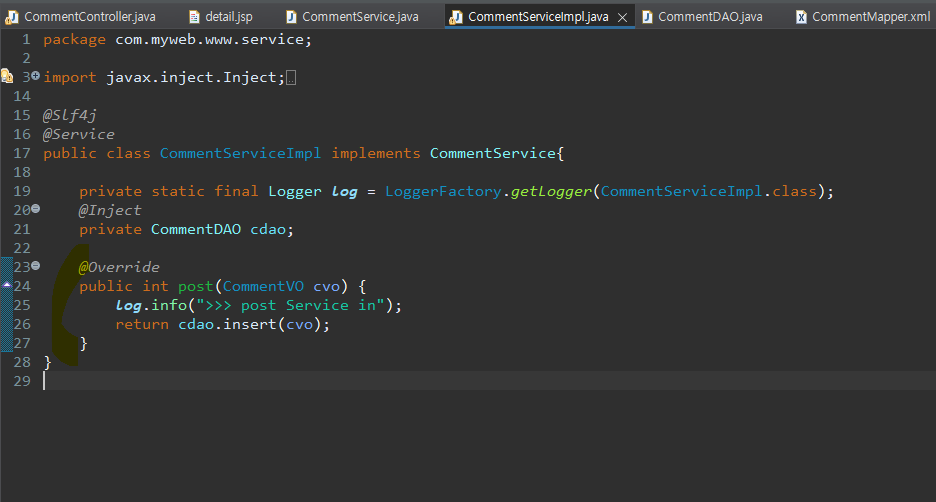
5. CommentController에 메서드 생성

package com.myweb.www.controller;

import javax.inject.Inject;
import javax.print.attribute.standard.Media;
import javax.print.attribute.standard.MediaTray;


import org.slf4j.Logger;
import org.slf4j.LoggerFactory;
import org.springframework.http.HttpStatus;
import org.springframework.http.MediaType;
import org.springframework.http.ResponseEntity;
import org.springframework.stereotype.Controller;
import org.springframework.web.bind.annotation.PostMapping;
import org.springframework.web.bind.annotation.RequestBody;
import org.springframework.web.bind.annotation.RequestMapping;

import com.myweb.www.domain.CommentVO;
import com.myweb.www.service.CommentService;

import lombok.extern.slf4j.Slf4j;

@Slf4j
@RequestMapping("/comment/*")
@Controller
public class CommentController {

	private static final Logger log = LoggerFactory.getLogger(CommentController.class);

	@Inject
	private CommentService csv;

	//responseEntity : 에러 코드와 같은 HTTP상태 코드를 전송하고 싶은 데이터와 함께 전송할 수 있기 때문에 좀 더 세밀한 제어가 필요한 경우 사용
	//value mapping값, consumes 받는/가져오는 값, procedures 내보내는 객체의 형식
	@PostMapping(value="/post", consumes="application/json", produces = {MediaType.TEXT_PLAIN_VALUE})
	private ResponseEntity<String> post(@RequestBody CommentVO cvo){
		//리턴을 위해서는 response의 통신상태를 같이 리턴함
		log.info(">>> cvo : "+cvo);
		//DB에 연결
		int isOk = csv.post(cvo);
		return isOk > 0? new ResponseEntity<String>("1",HttpStatus.OK)
				: new ResponseEntity<String>("0",HttpStatus.INTERNAL_SERVER_ERROR);
				//0보다 크다면 1과 함께 http의 생태가 ok!괜찮다는 의미를 리턴하고 /
				//0보다 작다면 0과 함께 http의 상태가 error!오류가 났다는 의미를 같이 리턴
	}


}
6. CommentController에 연결해서 mapper까지 작성
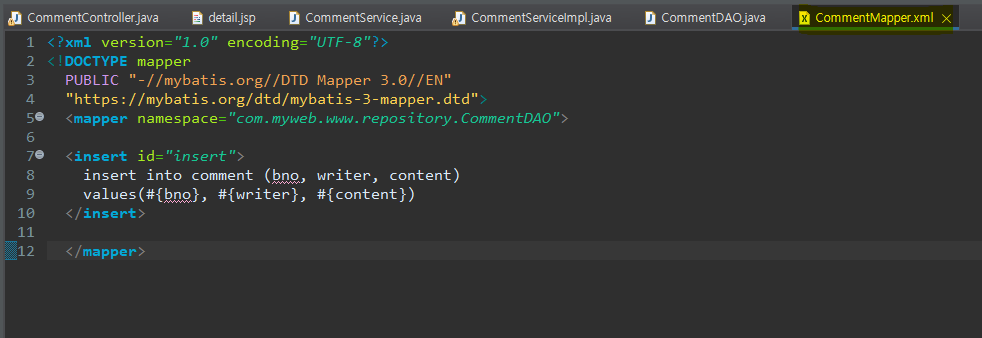
<insert id="insert">
  	insert into comment (bno, writer, content)
  	values(#{bno}, #{writer}, #{content})
</insert>
== 최종 출력화면 ==

'Spring > Spring 공부' 카테고리의 다른 글
| [spring] 파일 입출력 (0) | 2023.06.13 |
|---|---|
| [spring] 댓글 2. 댓글 출력 (0) | 2023.06.12 |
| [spring] 댓글 0. 테이블 생성, STS 기본 생성 (0) | 2023.06.09 |
| [spring] 2. 회원 가입 (0) | 2023.06.05 |
| [spring] BCryptPasswordEncoder : 패스워드 암호화 클래스 (0) | 2023.06.05 |